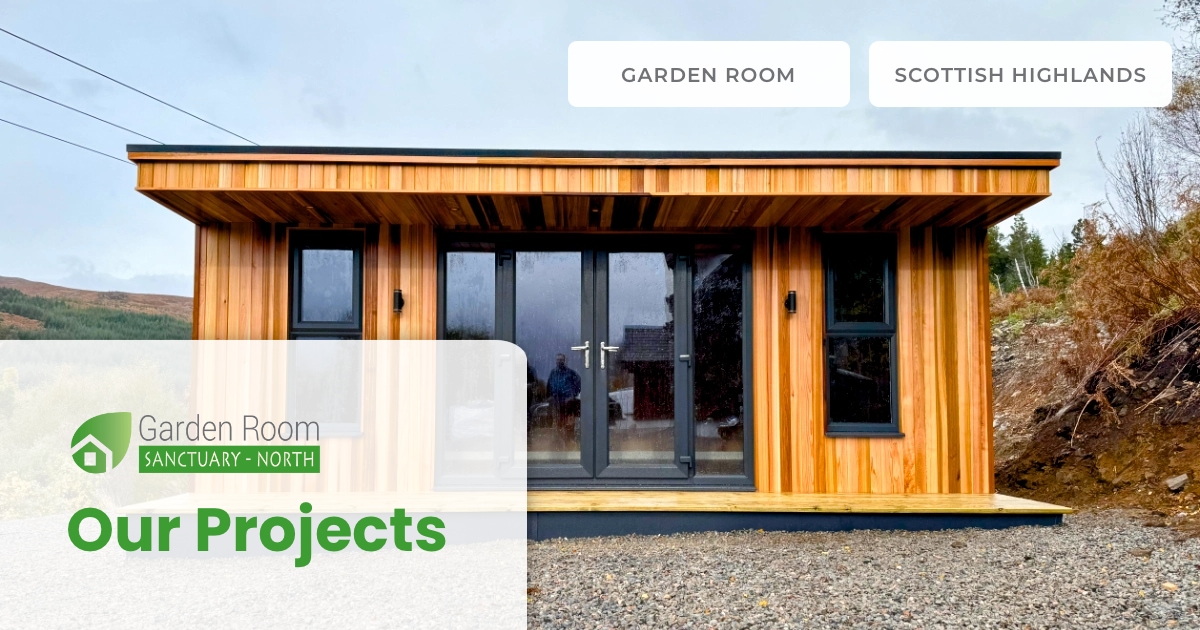


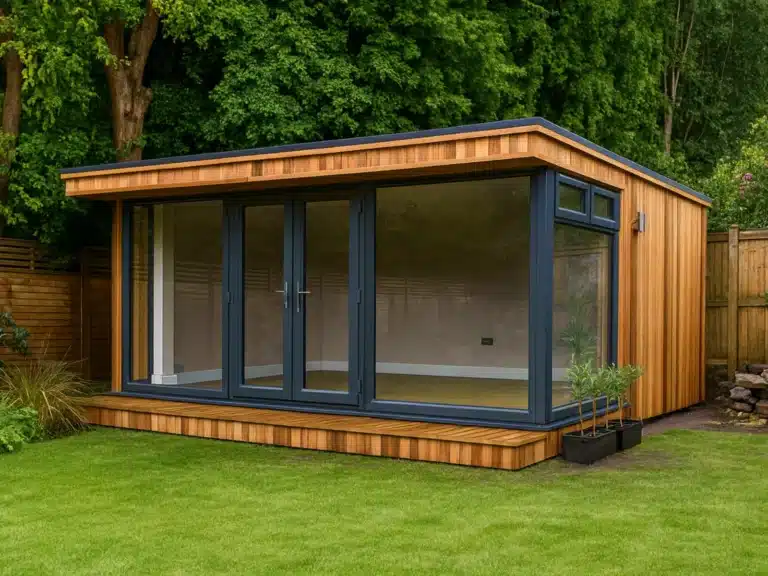


Step 1: Preparation & Foundations
Every successful build begins below the surface.
For this project, a galvanised steel pile system was selected to provide a stable, low-impact foundation that would stand the test of time.
Once installed, a precisely levelled timber base was constructed across the footprint, creating a strong and reliable platform from which the structure could take shape.